Unlock Year-Round Flavor: Your Comprehensive Guide on How to Dry Parsley
Parsley, with its vibrant green hue and fresh, peppery notes, is a culinary staple. Whether you've harvested a bountiful crop from your garden or simply bought a little too much at the store, knowing
how to dry parsley is an invaluable skill. Drying this versatile herb allows you to preserve its essence, ensuring you always have a touch of green and flavor on hand for everything from hearty stews and tomato soups to delicate potato salads. This guide will walk you through the most effective methods – oven, microwave, air, and dehydrator – helping you choose the best approach for your kitchen and achieve perfectly dried parsley every time.
Why Drying Parsley is a Culinary Game-Changer
Drying parsley isn't just about preventing waste; it's about extending its culinary life and ensuring you have access to its distinct flavor and visual appeal whenever inspiration strikes. Dried parsley offers several advantages:
*
Convenience: No more last-minute dashes to the grocery store. Your dried parsley is ready when you are.
*
Cost-Effective: Save money by preserving your own herbs, especially if you grow them.
*
Enhanced Dishes: Add a pop of color and a subtle herbaceous note to countless recipes. While fresh parsley has a brighter flavor, dried parsley offers a more concentrated, earthy undertone that works beautifully in cooked dishes.
*
Reduced Waste: Make the most of your harvest or purchase, preventing spoilage.
Essential Preparation Before You Dry Parsley
Regardless of the drying method you choose, proper preparation is key to ensuring your parsley retains its flavor, color, and is free from contaminants. This initial step sets the foundation for successful drying.
1.
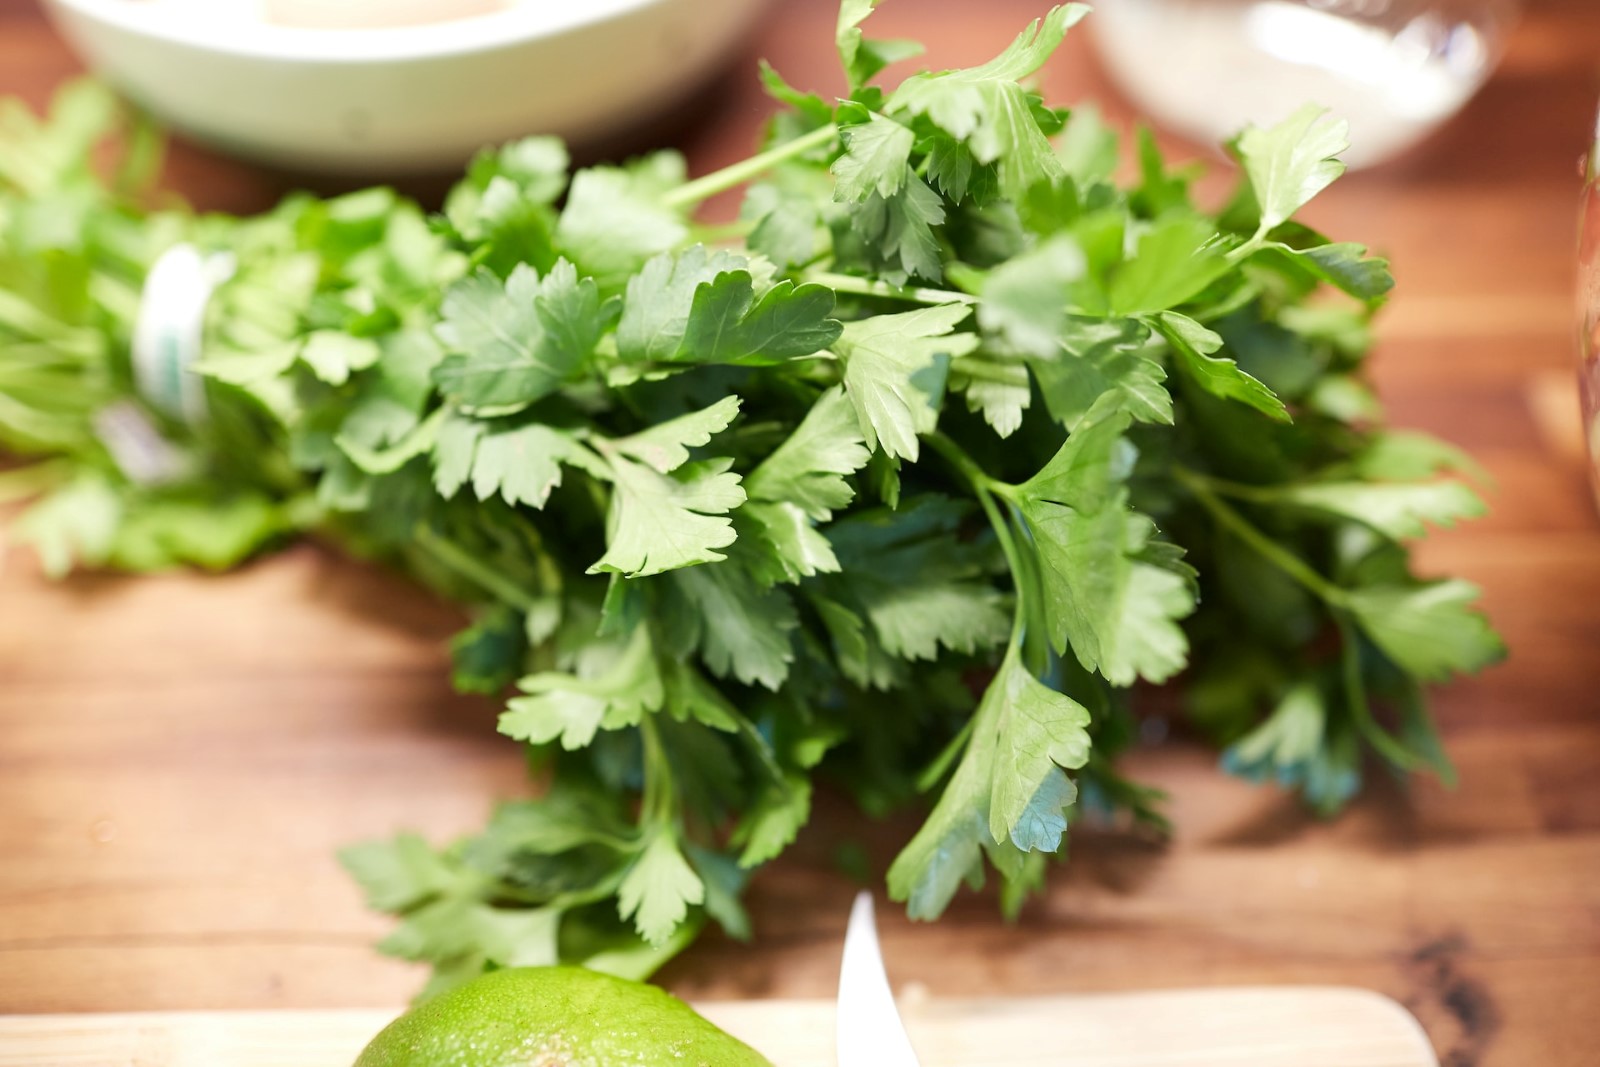
Inspect and Select: Choose fresh, healthy parsley sprigs. Look for vibrant green leaves without any yellowing, wilting, or blemishes. If harvesting from your garden, do so in the morning after the dew has dried but before the sun is at its strongest, which can cause the leaves to wilt.
2.
Wash Thoroughly: Rinse the parsley under cool running water. You can do this by holding bundles under the faucet or submerging them in a bowl of water and gently swishing to dislodge any dirt, debris, or insects. Repeat if necessary until the water runs clear.
3.
Pat Dry *Completely*: This is arguably the most crucial step. Excess moisture can lead to steaming (in heat methods) or mold (in air-drying), ruining your efforts. Lay the washed parsley on clean kitchen towels or paper towels and gently pat them dry. You can also use a salad spinner for an initial dry, then finish with towels. Ensure every sprig is as dry as possible to prevent uneven drying and potential spoilage.
Popular Methods for Drying Parsley at Home
Now that your parsley is prepped, let's explore the various techniques to transform it into a shelf-stable ingredient. Each method has its own benefits and considerations.
1. Oven Drying Parsley: A Reliable & Accessible Method
Your kitchen oven, usually set to its lowest temperature, is an excellent and widely available tool for drying herbs like parsley. This method uses gentle, controlled heat to slowly remove moisture.
*
Setup: Once your parsley leaves are completely dry, spread them in a single layer on a baking sheet. It’s important that no leaves overlap to ensure even drying. Overlapping leaves can steam rather than dry, leading to a less desirable result.
*
Temperature & Time: Preheat your oven to its absolute lowest temperature setting, typically around 150-200°F (65-93°C). The goal is to dry, not cook, the herb. Place the baking sheet in the oven for about 30 minutes to an hour.
*
Monitor & Finish: After the initial drying period, turn the oven off but leave the parsley inside for another hour or two, allowing the residual heat to continue the drying process. Check the parsley for dryness; it should be brittle and crumble easily when touched. If not, you can turn the oven on again for short bursts (15-20 minutes) at its lowest setting, or simply leave it in the turned-off oven for longer. For best flavor parsley, avoid over-drying or burning.
*
Pros: Widely accessible, good for larger batches than a microwave.
*
Cons: Uses electricity, risk of burning if not monitored carefully, can heat up the kitchen.
2. Microwave Drying Parsley: The Speedy Solution
For those in a hurry or working with smaller quantities, the microwave offers the quickest route to dried parsley. It leverages microwave energy to rapidly evaporate moisture.
*
Setup: Arrange the moisture-free parsley sprigs in a single layer on a paper plate, a sheet of parchment paper, or directly on your microwave's turntable. Again, ensure no leaves overlap.
*
Drying Bursts: Start with one 60-second burst on high power. After this, continue drying in shorter 30-second bursts.
*
Check Frequently: After the initial 60 seconds, and especially after the second or third 30-second burst, begin checking the parsley for dryness. Microwave drying can be very fast, and it’s easy to overdo it, leading to scorched or burnt herbs.
*
Finish: The parsley is done when it’s brittle and crumbles easily.
*
Pros: Extremely fast, great for small batches, preserves good color if not overcooked.
*
Cons: Easy to burn, requires close monitoring, not suitable for large quantities.
3. Air Drying Parsley: The Traditional, Energy-Free Method
Arguably the simplest and most traditional method, air-drying parsley requires no special equipment and uses the natural circulation of air to draw out moisture. This method is also excellent for preserving some of the herb’s essential oils.
*
Indoor Air Drying:
*
Preparation: After washing and thoroughly patting your parsley dry, gather four or five stems into small bundles. Secure the stems tightly with kitchen twine or a rubber band.
*
Hanging: Hang these bundles upside down in a warm, dry, and well-ventilated area of your home. A dark location is preferable to preserve the vibrant green color of the leaves (sunlight can bleach herbs). Good air circulation is crucial to prevent mold. Attics, pantries, or even a corner of your kitchen (away from direct sunlight and humidity) can work. You can cover the bundles loosely with a paper bag (with cut-out holes for air) to protect them from dust.
*
Timeframe: This method takes the longest, typically two to three weeks, depending on humidity levels and air circulation.
*
Check for Dryness: The parsley is fully dried when the leaves are crisp and crumble easily.
*
Sun Drying (Outdoor Air Drying):
* An alternative to indoor air drying, sun-drying maximizes air circulation and utilizes the sun's natural heat.
*
Method: Spread washed and patted-dry parsley on screens or clean cloths in a sunny, breezy spot.
*
Considerations: This method works best on hot, low-humidity days. You'll need to be vigilant to bring the parsley indoors if rain is expected, or if dew begins to form in the evenings. Cover with a fine mesh to protect from insects and dust.
*
Pros: Energy-free, preserves good flavor, simple setup.
Preserve Parsley: The Easiest Ways to Dry Herbs at Home through air drying is a time-honored tradition.
*
Cons: Takes the longest, dependent on environmental conditions, risk of mold or dust if not properly ventilated/monitored.
4. Dehydrator Drying Parsley: The Professional Choice
A food dehydrator is specifically designed for drying foods, offering a controlled environment with consistent heat and airflow. It's often considered the best method for preserving both the color and flavor of herbs.
*
Setup: Wash and thoroughly dry your parsley. Arrange the sprigs in a single layer on the dehydrator trays, ensuring good airflow between them.
*
Settings: Consult your dehydrator's manual for specific herb-drying settings. Generally, herbs are dried at a low temperature, typically between 95-125°F (35-52°C).
*
Drying Time: Drying time will vary depending on your dehydrator model, the amount of parsley, and the humidity, but it usually takes several hours (e.g., 2-8 hours).
*
Monitor: Check the parsley periodically. Rotate trays if necessary for even drying.
*
Finish: The parsley is completely dry when it's brittle and crumbles easily.
*
Pros: Excellent preservation of color and flavor, very efficient, low risk of burning, suitable for larger batches.
*
Cons: Requires a dedicated appliance.
5. Air Fryer Drying Parsley: A Modern Twist for Small Batches
While primarily known for "frying" with hot air, many air fryers have low-temperature settings that can be effectively used for drying herbs, similar to a small convection oven.
*
Setup: Wash and thoroughly dry your parsley. Place a single layer of parsley sprigs in the air fryer basket or on a rack, ensuring they don't overlap.
*
Settings: Set your air fryer to its lowest temperature, typically around 150-200°F (65-93°C).
*
Time & Monitoring: Begin with 15-20 minute intervals, checking the parsley frequently. The circulating air in an air fryer can dry herbs relatively quickly.
*
Finish: Continue drying until the parsley is brittle and easily crumbles.
*
Pros: Quick, efficient for small batches, utilizes an appliance many people already own.
*
Cons: Limited capacity, requires very close monitoring to prevent burning.
Best Flavor Parsley: Quick Drying Methods for Your Kitchen like the air fryer can be a real time-saver.
Storing Your Dried Parsley for Lasting Freshness
Once your parsley is thoroughly dried, proper storage is crucial to maintain its potency, color, and flavor for as long as possible.
1.
Cool Down: Allow the dried parsley to cool completely to room temperature before storing. Storing warm herbs can create condensation, leading to mold.
2.
Crumble (Optional): You can gently crumble the dried parsley leaves with your fingers, or leave them whole and crumble just before use. Crushing before storage can save space, but some argue that leaving them whole until use helps preserve more flavor.
3.
Airtight Containers: Transfer the dried parsley to airtight containers. Glass jars with tight-fitting lids are ideal, as they protect the herbs from moisture, air, and odors.
4.
Cool, Dark Place: Store the containers in a cool, dark place, such as a pantry or spice cupboard, away from direct sunlight, heat, and humidity. Light and heat can degrade the color and flavor of dried herbs over time.
5.
Longevity: Properly dried and stored parsley can maintain its quality for 6 months to 1 year. After this, it may lose some potency, but it will still be safe to use.
Drying parsley is a simple yet rewarding process that empowers you to enjoy this fantastic herb's flavor and aroma year-round. By understanding the different methods and following these essential steps, you'll master
how to dry parsley like a pro, enhancing your culinary adventures and reducing food waste in your kitchen. So go ahead, preserve your parsley and savor its green goodness!