Best Flavor Parsley: Quick Drying Methods for Your Kitchen
Fresh parsley adds a vibrant burst of color and a distinctive, fresh flavor to countless dishes. Whether you're harvesting an abundant crop from your garden, stocking up at the farmers market, or simply found a great deal at the grocery store, knowing how to dry parsley is an invaluable skill. Drying this versatile herb allows you to preserve its essence, ensuring you have a steady supply of its unique taste and verdant charm long after the fresh season has passed. Homemade dried parsley often far surpasses the quality of store-bought varieties, retaining more of its natural aroma and flavor.
Why Dry Your Own Parsley for Peak Flavor?
While fresh parsley is undeniably delightful, there are numerous compelling reasons to explore the art of drying your own. Beyond simply preventing waste when you have an excess of the herb, drying concentrates parsley’s flavor, making it a powerful addition to your spice cabinet.
*
Economical: Drying your own parsley is far more cost-effective than repeatedly buying fresh bunches or pre-packaged dried versions.
*
Flavor Control: You dictate the quality. By using peak-season, high-quality fresh parsley, you ensure a superior dried product free from additives or unknown origins. The slow, careful drying process helps lock in those essential oils that contribute to parsley's signature taste.
*
Convenience: Having dried parsley on hand means you’re always ready to sprinkle a touch of green into potato salads, stir into marinades, enrich soups, stews, and casseroles, or use as a garnish that packs a flavor punch.
*
Seasonal Abundance: If you grow parsley, drying is the perfect way to harness its summer abundance and enjoy its taste throughout the colder months.
Essential Preparation: Getting Your Parsley Ready
No matter which drying method you choose, proper preparation is the cornerstone of preserving parsley's best flavor and ensuring a successful, mold-free result. This crucial first step applies to all techniques.
1.
Wash Thoroughly: Begin by washing your fresh parsley under cool, running water. Gently swish the sprigs to dislodge any dirt, debris, or tiny insects. A colander works perfectly for this.
2.
Inspect: Carefully check for any discolored, wilted, or damaged leaves. Remove and discard these, as they can hinder the drying process or compromise the quality of the batch.
3.
Dry Completely: This is arguably the most critical step. Excess moisture is the enemy of drying and can lead to mold.
* Gently pat the parsley leaves dry with a clean paper towel or a soft kitchen towel.
* For extra efficiency, you can use a salad spinner to remove a significant amount of water.
* After patting, lay the parsley out on a clean towel for 15-30 minutes to air-dry further, ensuring all surface moisture has evaporated. The leaves must be bone-dry before proceeding.
Once your parsley is clean and completely dry, you're ready to choose your preferred drying method.
Mastering the Methods: How to Dry Parsley for Your Kitchen
Each drying method offers unique advantages, catering to different kitchen setups, time constraints, and preferences. Experiment to find the one that works best for you and consistently yields the most flavorful dried parsley.
The Oven Method: Gentle Heat for Crisp Results
Your conventional oven, set to its lowest temperature, is a reliable tool for quickly drying herbs like parsley. This method is excellent for achieving crisp, vibrant green dried parsley.
1.
Preheat and Prepare: Preheat your oven to its absolute lowest setting, typically around 150-200°F (65-93°C). While it's heating, spread your prepared parsley sprigs in a single layer on a baking sheet. Ensure none of the leaves overlap, allowing for even heat distribution. You can strip the leaves from the stems for faster, more uniform drying.
2.
Drying Process: Place the baking sheet in the preheated oven.
* Leave the parsley in for approximately 30 minutes to 1 hour, depending on your oven's temperature and the parsley's moisture content.
* After this initial period, turn the oven off but leave the parsley inside for another hour or two, allowing the residual heat to continue the drying process gently. For optimal moisture escape, you can prop the oven door slightly ajar with a wooden spoon.
3.
Check for Dryness: Your parsley is fully dried when it feels brittle and crumbles easily between your fingers. It should have a vibrant green color and a distinct aroma. If not completely dry, you can repeat the process in shorter increments until perfect.
For a detailed walkthrough of oven and microwave drying techniques, check out our guide on
How to Dry Parsley: Oven, Microwave, Air & Dehydrator Methods.
Rapid Drying with Your Microwave
For those in a hurry, the microwave offers the fastest way to dry parsley. This method requires careful attention to prevent burning, but it can yield beautifully dried herbs in minutes.
1.
Arrange Parsley: Arrange your moisture-free parsley sprigs (leaves stripped from stems work best here) in a single layer on a paper plate, a sheet of parchment paper, or directly on your microwave's turntable. Avoid overlapping.
2.
Microwave in Bursts: Start with one 60-second burst on high power. After the first minute, check the parsley. It will likely still be soft.
* Continue microwaving in 30-second bursts, checking after each one. The total drying time can range from 2 to 4 minutes, depending on your microwave's wattage and the quantity of parsley.
* You may notice steam escaping, which is a good sign. Place another paper towel on top of the parsley to help absorb this moisture.
3.
Test for Dryness: The parsley is ready when it's crisp, brittle, and crumbles effortlessly. Be vigilant – parsley can go from perfectly dry to burnt very quickly in the microwave.
The Traditional Art of Air Drying
Air drying is arguably the easiest and most energy-efficient method, relying purely on natural air circulation and warmth. It’s a time-honored technique perfect for preserving herbs.
1.
Create Bundles: Once your parsley is clean and dry, gather small bunches of 4-5 stems together. Tie the stems securely with kitchen twine, leaving a loop for hanging. Ensure the bundles aren't too large or tight, as air needs to circulate freely within them to prevent mold.
2.
Hang Strategically: Find a warm, dry, and well-ventilated location in your home. Attics, pantries, or even a corner of a kitchen away from direct sunlight are ideal. Good airflow is key. While some suggest direct sun, initial drying in a darker spot helps retain more vibrant green color and flavor compounds.
3.
Patience is Key: Air drying typically takes 2 to 3 weeks, depending on humidity levels and air circulation. Check your bundles periodically. When the leaves are completely dry, they will be brittle and easily crumble.
If you're looking for the simplest, most traditional methods to preserve herbs, including air drying, explore
Preserve Parsley: The Easiest Ways to Dry Herbs at Home.
Precision with a Food Dehydrator
A food dehydrator is a dedicated appliance designed specifically for drying food, offering a controlled environment of low heat and consistent airflow. This method provides reliable, high-quality results with minimal effort.
1.
Arrange on Trays: Spread your prepared parsley leaves (stems can be removed or left on, depending on your preference) in a single layer on the dehydrator trays. Avoid overcrowding to allow for optimal air circulation.
2.
Set and Forget: Set your food dehydrator to the recommended temperature for herbs, which is typically between 95-125°F (35-52°C).
3.
Dehydrate: The drying time can vary, usually between 4 to 12 hours, depending on the machine and the parsley's moisture content. Check periodically for dryness. Your parsley is ready when it's fully brittle and crumbles easily. Dehydrators are excellent for preventing burning and ensuring even drying.
Harnessing Nature: Sun Drying Parsley
For those with the right climate, sun drying can be an effective and eco-friendly method, maximizing air circulation and utilizing the sun's natural heat.
1.
Choose Your Day: This method requires hot, sunny days with low humidity. A stretch of consecutive sunny days is ideal.
2.
Spread and Elevate: Spread your clean, dry parsley leaves in a single layer on screens or baking sheets covered with cheesecloth. Elevate these trays off the ground to allow for maximum airflow all around.
3.
Protect and Monitor: Place your setup in direct sunlight. Bring the parsley indoors every evening to protect it from dew and potential rain. Also, cover it with another layer of cheesecloth to shield it from insects and dust.
4.
Drying Time: Sun drying can take several days to a week, depending on conditions. Check regularly for brittleness. Once fully dry, the leaves should easily crumble.
Storing Your Homemade Dried Parsley
Once your parsley is thoroughly dried using any of the above methods, proper storage is paramount to maintaining its flavor, color, and potency for months to come.
1.
Cool Completely: Before storing, ensure the dried parsley has cooled completely to room temperature.
2.
Crumble (Optional): You can gently crumble the dried leaves with your fingers, or leave them whole and crush them just before use for maximum flavor retention.
3.
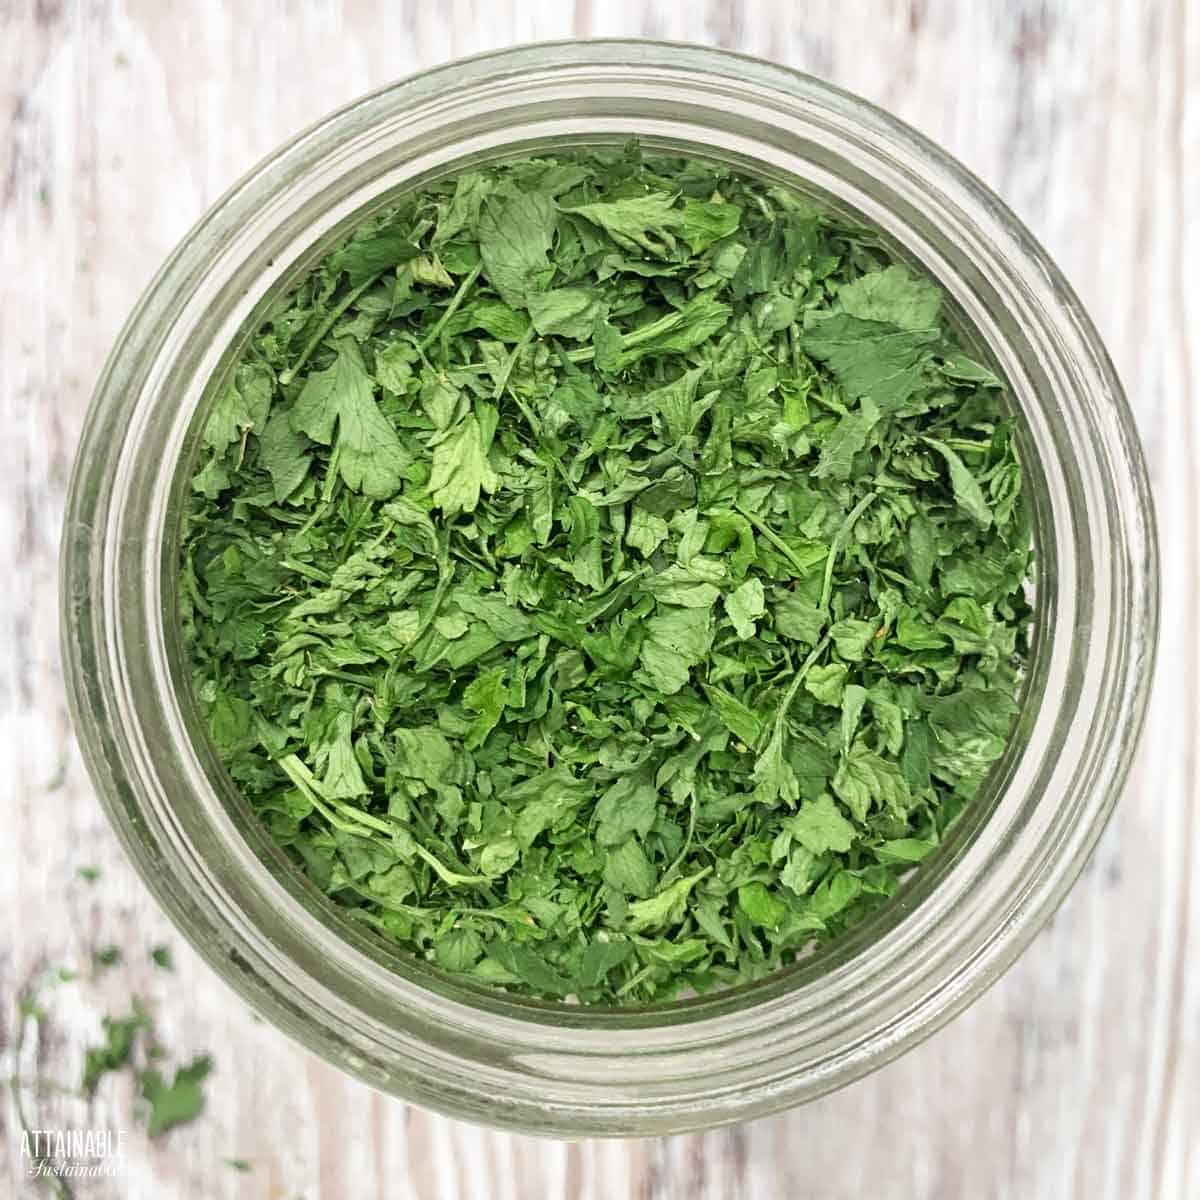
Airtight Container: Transfer the dried parsley to an airtight container. Glass jars with tight-fitting lids are ideal, as they prevent moisture and air from degrading the herb.
4.
Cool, Dark Place: Store the container in a cool, dark place, such as a pantry or cupboard, away from direct sunlight, heat, and moisture. Exposure to light and heat can cause the parsley to lose its color and flavor more quickly.
5.
Label: Label your container with the date of drying. Properly stored, homemade dried parsley can maintain its peak flavor for 6-12 months, though it may remain usable for longer with some loss of potency.
Drying parsley at home is a rewarding endeavor that extends the life of this beloved herb and enhances your culinary toolkit. By following these methods, you can ensure a consistent supply of flavorful, vibrant green dried parsley, ready to elevate your cooking year-round. Experiment with different techniques to discover your favorite, and enjoy the satisfaction of preserving nature's bounty right in your own kitchen!